

Reading Time: 12 Minutes
Difficulty Level: Beginner to Intermediate
Reviewed By: FinanceInfoIn Editorial Team
Quick Summary
Transforming your backyard with solar power is an eco-friendly and cost-effective way to boost your home's curb appeal. By understanding sunlight patterns, choosing the right lumens, and placing fixtures strategically, you can create a stunning nighttime oasis. This guide breaks down exactly how to select, install, and maintain solar lights without needing an electrician. You will learn how to save money while enjoying beautiful, reliable outdoor illumination.
Key Takeaways
- Direct sunlight is the fuel for your outdoor lights; map your yard before buying.
- Lumens determine brightness. Use low lumens for ambiance and high lumens for security.
- Solar power eliminates the need for expensive electricians and messy underground wiring.
- Regularly cleaning the solar panels ensures maximum charging efficiency.
- Replacing the rechargeable batteries every few years keeps your lights running like new.
Stepping Into the Dark: The Real Cost of a Shadowy Yard
I stepped off my back porch with a full plate of barbecue food, completely misjudged where the steps ended, and almost sent dinner flying across the grass. It was completely dark outside. My yard looked beautiful during the day, but at night, it turned into an unusable black hole.
I wanted to fix it. But when I looked into hiring an electrician to run low-voltage wires under my lawn, the estimate made my jaw drop. They wanted to dig up my freshly planted flower beds and charge me thousands of dollars just to install a few path lights.
That is when I realized I was approaching the problem the wrong way. We want to enjoy our outdoor spaces long after the sun goes down. We want to host friends, let the dog out safely, and feel secure in our homes.
But the thought of inflated electricity bills and messy installation stops most of us from doing anything at all. You end up relying on a single, harsh porch light that attracts bugs and ruins the evening mood. It feels frustrating to have a backyard you can only use half the time.
The good news is that technology has changed entirely. You do not need to trench your yard or hire expensive professionals anymore. Today’s solar-powered fixtures are incredibly advanced, affordable, and easy to install yourself.
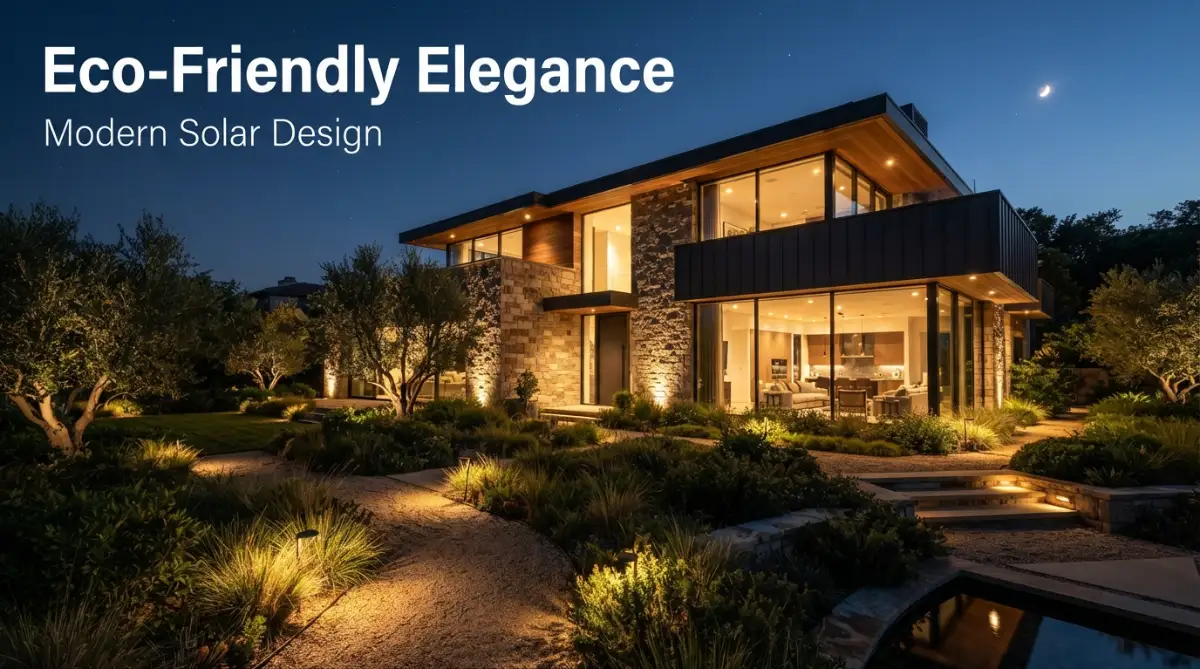
Understanding the Basics: How the Sun Lights Up Your Night
Before you start buying fixtures, it helps to know exactly what you are bringing into your yard. A solar light is essentially a tiny, self-sufficient power plant. It does not just glow magically; it uses smart technology to capture and store energy.
At the top of the fixture, you will find a small dark square called a photovoltaic cell. During the day, this cell absorbs sunlight and converts it into electrical energy. This energy travels down into a built-in rechargeable battery hidden inside the unit.
As the sun sets, a small light sensor detects the fading daylight. It automatically tells the battery to stop charging and start sending that stored power to the LED bulb. The better the panel and battery, the longer your yard stays illuminated throughout the night.
Hardwired Systems vs. Solar Freedom: Which Wins?
Many homeowners get confused when deciding between traditional hardwired low-voltage lighting and modern solar options. They assume hardwired is the only way to get reliable brightness. Let’s break down the actual differences so you can make a smart choice.
Step 1: Mapping Out Your Yard’s Sunlight Zones
The biggest mistake people make with outdoor solar lighting is placing them where they look pretty, without thinking about the sun. A solar panel sitting in deep shade all day will give you about ten minutes of weak light at night. You have to feed them what they want: direct sunlight.
Take a walk around your yard at noon and again in the late afternoon. Notice where the shadows from your house, large trees, and fences fall. You are looking for zones that get at least six to eight hours of direct, unfiltered sunlight.
If you want to light up a pathway under a thick oak tree, a standard all-in-one path light will fail. Instead, you need to look for fixtures with a remote panel. These allow you to place the light in the dark shadows while the connected solar panel sits 15 feet away in the bright sun.
Expert Tip: Pay attention to seasonal changes. A spot that gets full sun in the middle of summer might be completely blocked by your neighbor's roof line during the winter months.
Step 2: Choosing the Right Type of Illumination
Not all outdoor lights serve the same purpose. Trying to use a decorative string light to illuminate a dark driveway will leave you incredibly disappointed. You need to match the type of fixture to the specific job you want it to do.
First, focus on lumens, which is simply the measure of how bright a light is. For soft, ambient garden lighting, look for fixtures putting out 15 to 30 lumens. If you want to light up a dark staircase or a security zone, you need a powerful spotlight pushing 200 to 800 lumens.
Here is a quick breakdown of your main options:
Real-Life Math: The True Savings of Going Solar
Let’s look at a realistic example to see how much money this actually saves. Imagine a homeowner named David wants to install 12 path lights and 4 strong spotlights around his property.
If David hires an electrician to install a hardwired low-voltage system, the materials, transformer, and labor will easily cost him around $1,500 upfront. Then, running those lights for 8 hours every night will add roughly $35 to $50 to his electricity bill every single year.
Instead, David buys high-quality, weather-resistant solar path lights and solar spotlights for about $350 total. He installs them himself on a Saturday morning in under an hour. His installation cost is zero. His monthly electricity cost for these lights is zero. He saves over $1,150 right away, and the savings keep growing every month.
Watch This Helpful Video Before You Buy
If you are feeling overwhelmed by all the different styles and brightness levels at the hardware store, you are not alone. Watch this quick visual guide to see exactly how different solar lights look in a real backyard setting at night.
Step 3: Mastering the Art of Strategic Placement
Now that you have your lights, it is time to put them in the ground. The goal is to guide the eye and create depth, not to make your yard look like an airport runway. Spacing is everything.
When placing path lights, do not line them up perfectly straight like soldiers on both sides of the walkway. This creates a very harsh, artificial look. Instead, stagger them in a zig-zag pattern along the path. Space them about six to eight feet apart so the pools of light just barely touch each other on the ground.
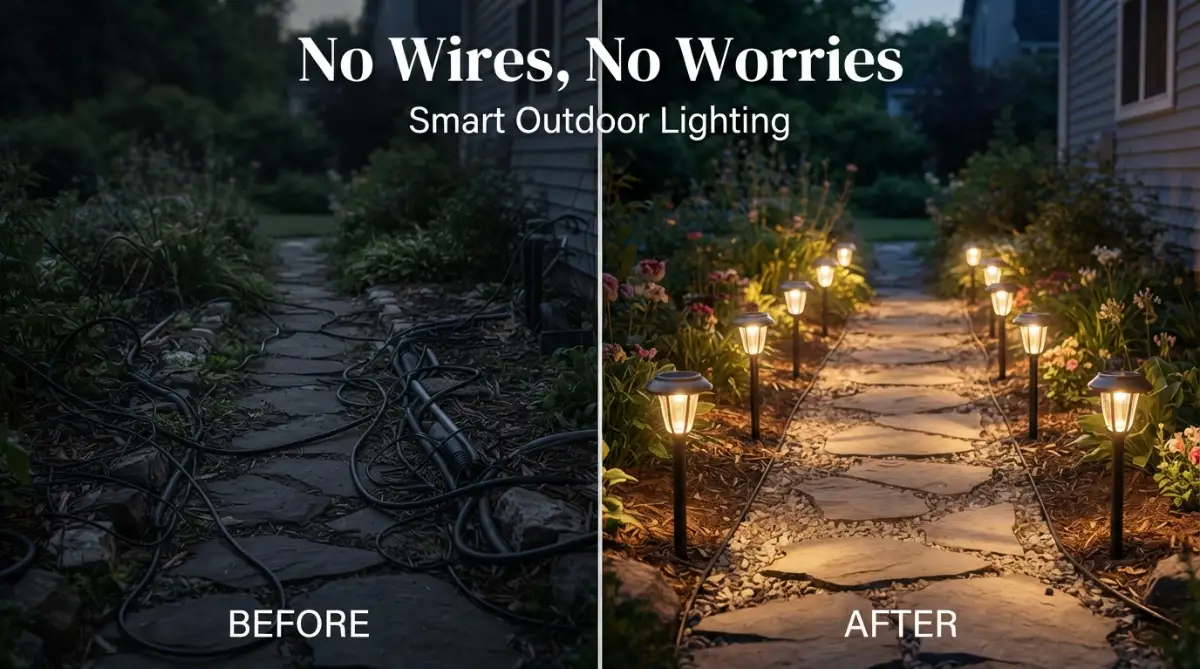
For spotlights, never point them directly at a window or straight into the street where they can blind passing drivers. Point them slightly upward into the canopy of a tree or graze them against a textured brick wall. This technique, called up-lighting, makes your home look incredibly expensive and professionally designed.
I used to think brighter was always better, so I bought the strongest spotlights I could find and aimed them right at my patio. My wife told me it felt like being interrogated. I quickly learned that soft, ambient lighting makes a space feel relaxing, while harsh lighting causes eye strain. Always angle bright lights away from seating areas.
Honest Pros & Cons of Sun-Powered Illumination
To make the best decision for your home, you need to look at both the good and the bad. Here is exactly what you can expect when making the switch.
The Pros:
- Zero impact on your monthly utility bills.
- Extremely easy and safe to install without any electrical knowledge.
- Environmentally friendly, reducing your household carbon footprint.
- Turns on automatically at dusk and off at dawn without a timer.
The Cons:
- Performance drops heavily during consecutive rainy or cloudy days.
- Requires manual cleaning of the panels to keep them charging properly.
- The internal rechargeable batteries need replacing every one to three years.
- Very cheap models are often made of weak plastic that degrades in the sun.
Step 4: Maintenance and Battery Care for Longevity
Many people buy solar fixtures, put them in the ground, and completely forget about them. Two years later, they complain that the lights stopped working. These devices live outside in the rain, snow, dirt, and baking heat. They need a little bit of care to survive.
The most common issue is a dirty panel. When dust, pollen, or bird droppings cover the photovoltaic cell, the sun cannot reach it. The battery does not charge, and your yard stays dark. Every two months, take a damp paper towel and gently wipe off the top of every panel.
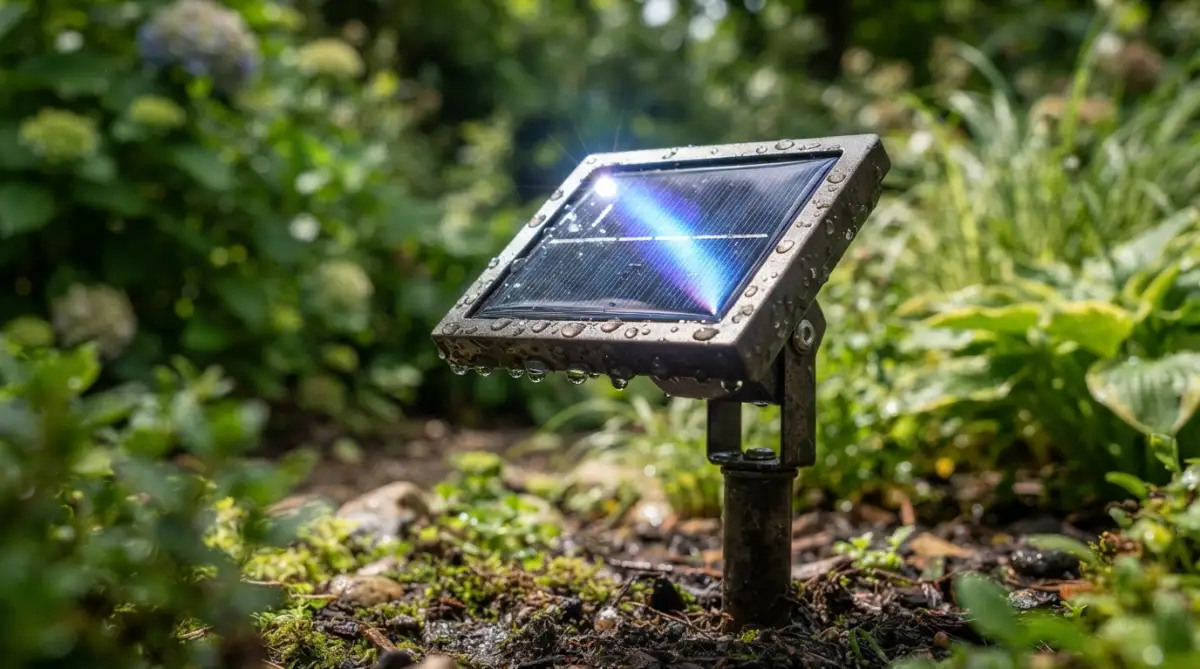
You also need to pay attention to the IP rating when buying. This stands for Ingress Protection, and it tells you how waterproof a product is. Always look for a rating of IP65 or higher for outdoor use. This ensures heavy rain and sprinkler systems will not ruin the internal electronics.
Eventually, the battery inside the fixture will lose its ability to hold a full charge. You will notice the light only stays on for an hour or two after sunset. Do not throw the whole fixture away.
Open the battery compartment on the back or bottom of the unit. Most use standard AA or AAA NiMH rechargeable batteries. Buy a fresh pack of solar-rated rechargeable batteries online, swap them out, and your lights will perform like they are brand new again.
Wrapping Up Your Backyard Transformation
Creating a beautiful, well-lit outdoor space does not require a massive budget or tearing up your landscaping. By harnessing the energy of the sun, you gain complete control over your home's nighttime aesthetic.
Start small if you need to. Buy a set of four high-quality path lights for your front walkway. See how they perform, get comfortable with how they charge, and notice the immediate difference they make to your home's curb appeal.
As you get more confident, you can add warm string lights over your seating area and strong uplighting against your trees. With smart placement and simple routine maintenance, your yard will become a welcoming, safe, and beautiful extension of your home every single night.
Next-Level Strategies for a Brilliant Yard
Let us talk about taking your property from "just okay" to looking like a luxury resort. The secret lies in a professional technique called light layering. You never want a flat, one-dimensional glow across your entire lawn.
Instead, we mix path markers, strong spotlights, and hanging string bulbs to create depth and texture. This draws the eye across the yard and makes the space feel twice as big. If you decide to upgrade to a larger rooftop system later, you should learn how to prep your roof for solar panels and avoid costly leaks.
Pro tips: Always buy units with warm white LEDs (around 2700K to 3000K) instead of cool white. Warm light makes your yard feel like a cozy outdoor living room, while cool blue light looks harsh and sterile.
I highly recommend setting up a small testing zone before committing to your final design. Stick a few stakes loosely in the soil and check them from inside your house through the living room window. This helps you avoid blinding yourself when you look outside at night.
To keep your system running smoothly, you just need a little routine care. You can easily read about how to clean solar panels safely without scratching them to maintain maximum brightness all year round.
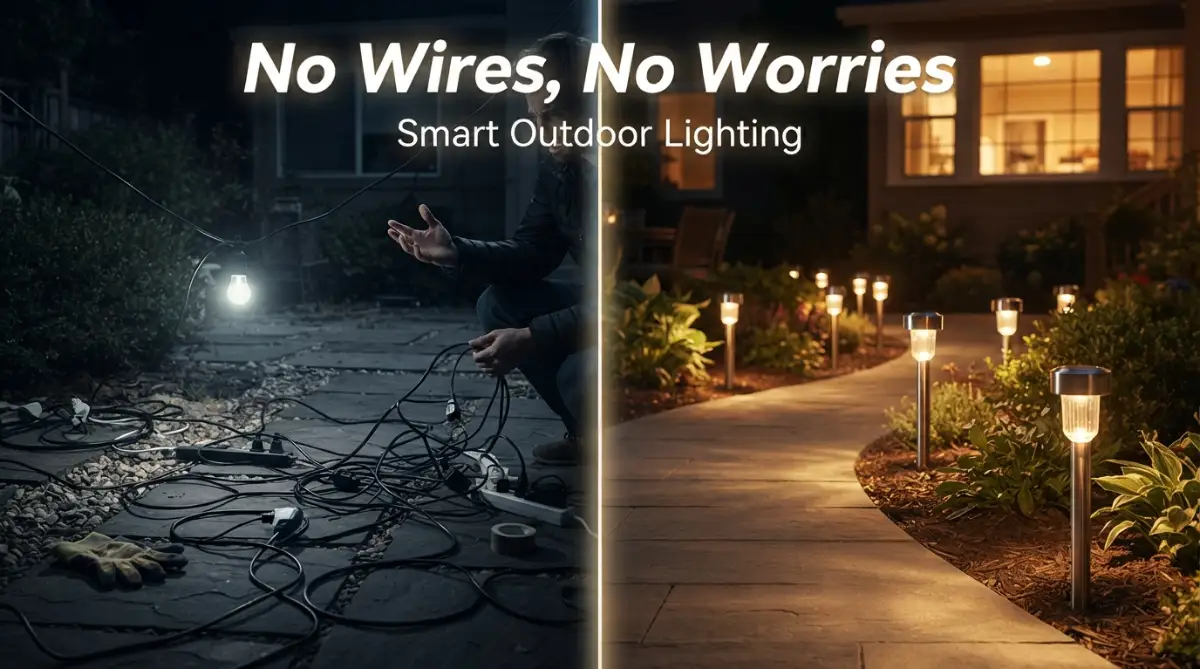
The Biggest Setup Blunders That Will Cost You
You have your beautiful new gear, but a few simple errors can ruin the whole experience. I have seen homeowners spend hundreds of dollars on premium fixtures, only to throw them away a month later. Let us make sure you do not waste your money on these common pitfalls.
Common Mistakes:
- Placing the fixtures right next to bright streetlamps, which confuses the automatic sensors and stops them from turning on.
- Forgetting to remove the thin plastic shipping film covering the cells, causing the batteries to drain out in a week.
- Stabbing the plastic stakes directly into dry, hard dirt and snapping the bottom pieces right off.
- Ignoring major solar panel installation mistakes that waste your money when upgrading to larger yard systems.
If you ignore these warnings, your beautiful evening oasis will quickly turn into a dark, frustrating mess. It breaks my heart to see people give up on free energy just because of a completely avoidable setup error. Always verify your placement before the sun goes down.
If you are planning to eventually power your entire home with the sun, understanding how net metering works a simple guide to solar savings will completely change your perspective on utility bills.
Putting Your Plan Into Action Today
You are probably wondering how to actually get this done this weekend. It is much easier than you think. You do not need city permits, and you definitely do not need to call an expensive contractor to dig trenches in your lawn.
The Exact Step-by-Step Execution Guide:
Step 1: Sketch your yard layout. Grab a piece of paper and draw your walkways, trees, and patio. Mark the sunniest areas with a big star.
Step 2: Calculate your exact needs. Figure out how many units you need by spacing them about six to eight feet apart. If you want to power a detached garage, check out how to calculate home solar panel requirements easily.
Step 3: Prep the solid ground. Water the dirt heavily along your pathways about an hour before installation. This makes the ground soft and incredibly easy to work with.
Step 4: Plant and angle perfectly. Push the stakes gently into the wet soil using two hands. Angle the top cell directly toward the southern sky for the absolute best sun exposure.
Required Document / Preparation Checklist:
Even though this is a simple weekend project, gathering a few basic things beforehand saves you a massive headache later.
- A rough hand-drawn map of your property lines and the darkest corners.
- A garden hose or large watering can to soften heavily compacted soil.
- A soft microfiber cloth to wipe off oily fingerprints after handling the top covers.
- A measuring tape to keep the spacing uniform and highly professional.
- Quick approval from your Homeowners Association (HOA) if they have strict rules about front-yard decorations.
Your Quick Action Checklist
Before you head to the hardware store, grab this fast summary to ensure you are ready to upgrade your yard tonight.
- Walk the entire property at noon to map out the strongest sun spots.
- Decide whether you need soft path markers or bright security beams.
- Pick fixtures with a verified waterproof rating for safety.
- Charge the new units fully in direct sun for two full days before flipping the power switch on.
If you ever decide to expand your setup to your main roof, learning how to calculate home solar panel requirements for beginners easy guide is a smart next step.
Enjoying Your Beautiful, Free Nighttime Illumination
Upgrading your outdoor space does not have to be a stressful, expensive nightmare. By switching to sun-powered options, you are taking complete control of your property and eliminating those annoying monthly utility costs. You get all the safety, beauty, and security without any of the heavy manual labor.
I remember the very first night my own backyard lit up automatically after a long day of work. Sitting on the patio with a cold drink, surrounded by that warm, free glow, was an incredibly rewarding feeling. You can easily create that exact same magic in your own yard this very weekend.
Which part of your yard are you planning to light up first? Let me know in the comments below!
Frequently Asked Questions About Sun-Powered Garden Lighting
Do these fixtures actually charge on completely cloudy days?
Yes, they will still charge through the clouds, but at a much slower rate. You will likely notice they only stay brightly lit for a few hours on gloomy nights.
How many years do these outdoor units typically last?
A good quality unit will easily last three to four years outside in the harsh elements. However, you will need to replace the cheap internal AA or AAA battery every year or two.
Can you safely leave them out in the freezing winter?
You absolutely can leave them out all winter long. Just make sure to gently brush the heavy snow off the top so the sun can reach the charging cell.
Why did my new walkway markers stop working after just one week?
Check the top of the unit for a thin, clear plastic shipping sticker. Many people forget to peel this off, and the sun bakes it into a cloudy mess that blocks the charging process entirely.
Do I need to manually turn them off during the bright daylight?
No, you can leave the main power switch in the "ON" position permanently. The built-in dark sensor automatically handles the switching for you every single day.
How many lumens do I actually need for a safe walkway?
For a standard garden path, you only need about 15 to 30 lumens per stake. Anything brighter than that will blind you as you walk toward your front door.
Can I replace the internal batteries with normal household ones?
Never use standard alkaline batteries in these devices, as they will overheat and destroy the unit. You must buy specific NiMH rechargeable batteries rated for outdoor use.
Are these setups genuinely bright enough for home security?
Absolutely, modern motion-sensor spot models are incredibly powerful. They easily push out up to 800 lumens, which is more than enough to scare off animals and unwanted guests.
How do I properly clean the top panels without damaging them?
Just use a soft, damp microfiber towel with a tiny drop of mild dish soap. Never use harsh chemical window cleaners or rough scrubbing pads, as they will permanently scratch the plastic.
Do these glowing fixtures attract annoying bugs to the yard?
Like all light sources, they will attract some insects at night. Choosing a warm white or amber glow attracts far fewer bugs than harsh, bright blue-toned bulbs.
Trusted Solar Energy & Planning Resources
Before investing in a home solar system, we highly recommend verifying federal incentives, local policies, and solar performance data through these trusted official sources:
- U.S. Department of Energy (DOE) - Homeowner’s Guide to Going Solar (For official basics on residential solar setups)
- National Renewable Energy Laboratory (NREL) - PVWatts Calculator (The industry standard tool to estimate the energy production of your roof)
- DSIRE - Database of State Incentives for Renewables & Efficiency (To find specific solar tax credits and rebates available in your specific state)
- Solar Energy Industries Association (SEIA) - Consumer Protection (For guidelines on choosing a reputable and certified solar installer)
- U.S. Environmental Protection Agency (EPA) - Green Power Partnership (To understand the environmental benefits of your residential solar switch)
Disclaimer:
The information provided in this