
Reading Time: 12 Minutes
Difficulty Level: Beginner to Intermediate
Reviewed By: FinanceInfoIn Editorial Team
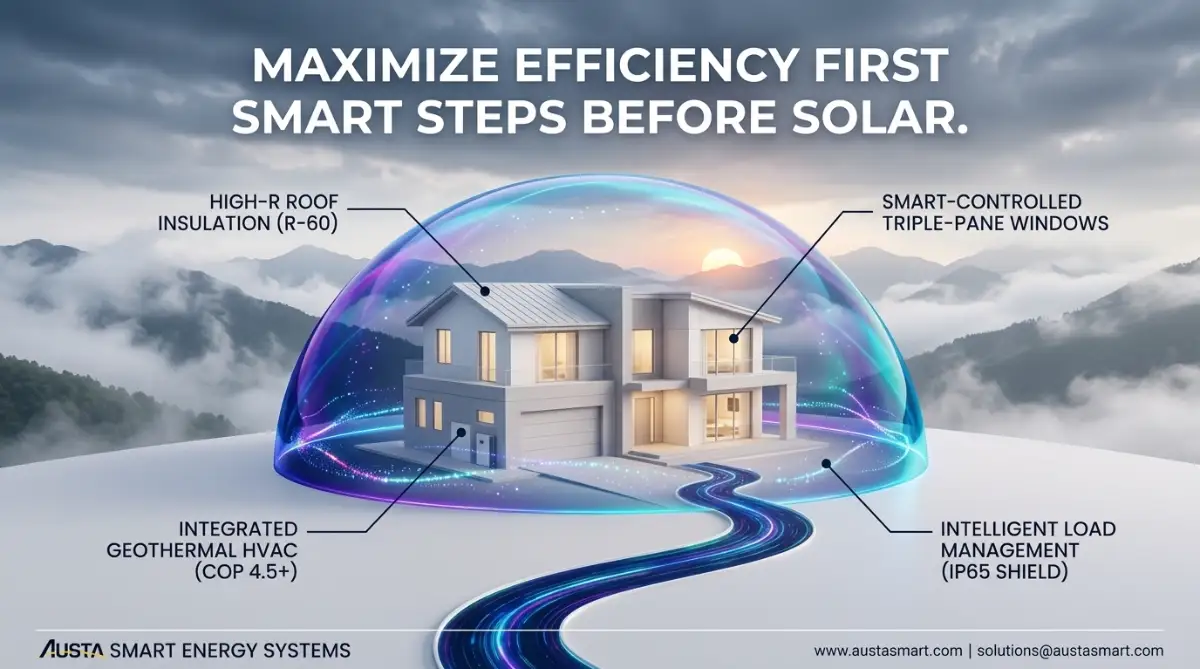
Why Your Home Might Not Be Ready for the Sun
I sat at my kitchen island staring at an electricity bill that felt like a bad joke. My hands were actually shaking a little bit. We had run the air conditioning heavily that month, sure, but the number printed on that paper meant we would have to skip our planned family weekend trip. I felt completely trapped by my own house.
I thought the ultimate escape plan was to just throw solar panels on the roof and never worry about the utility company again. I even called a local installer the very next morning. But what the technician told me completely shifted my perspective. He looked at my attic, checked my doors, and said, "I can sell you a massive solar system today, but half of the power it generates will literally leak right out of your front door."
That hit me hard. I was about to spend thousands of dollars to generate clean electricity, only to waste it because my home was basically a giant sieve.
Many people face this exact same frustrating reality. We are paying for energy that we never actually get to enjoy. It escapes through drafty windows, uninsulated attics, and aging appliances that secretly drain power all day long. If you jump straight into renewable energy without fixing these foundational problems, you are setting yourself up for massive disappointment.
This guide is going to walk you through exactly how to lock down your house. We will stop the leaks, drop your baseline power usage, and make sure that when you finally do capture the power of the sun, you keep every single drop of it.
Quick Summary
Preparing for renewable energy starts indoors. By upgrading your insulation, sealing air leaks, and fixing energy-draining appliances, you significantly lower your daily power consumption. This preparation ensures you can purchase a smaller, much more affordable solar system while maximizing your overall monthly savings.
Key Takeaways
- Never install rooftop panels without conducting a full home energy audit first.
- Sealing windows, doors, and your attic is the fastest way to stop energy waste.
- A smaller daily power requirement means you need fewer panels to run your home.
- Unplugging phantom loads can drop your electric bill before you even spend a dime on upgrades.
- Upgrading to a smart thermostat automates your climate control and slashes HVAC waste.
The "Leaky Bucket" Concept
Imagine you have a bucket with several holes in the bottom. You want to keep the bucket full of water. You have two choices. You can buy a massive, expensive hose to pump water in faster than it can leak out. Or, you can just plug the holes.
Buying a massive solar system without fixing your home is exactly like buying that expensive hose. It makes zero financial sense.
When you prioritize efficiency, you are plugging the holes. You are ensuring that your home holds onto the cold air in the summer and the warm air in the winter. This simple shift in thinking changes everything about your upcoming project.
By taking the time to tighten up your property, you are actively shrinking the size of the renewable energy system you need to buy. Fewer panels mean less mounting hardware, smaller inverters, and significantly lower labor costs.
Finding the Hidden Drafts: The Energy Audit
The absolute best starting point is figuring out exactly where your money is floating away. This is where a home energy audit comes into play. Think of it as a complete physical checkup for your property.
You can hire a professional, which I highly recommend. They will bring specialized tools like blower doors and infrared cameras. A blower door depressurizes your house, violently sucking air through every crack and crevice, making leaks obvious. The infrared camera then gives a colorful visual map showing exactly where heat is entering or escaping the rooms.
If you are on a tight budget, you can perform a DIY audit today. Wait for a windy day, light an incense stick, and slowly walk it around the edges of your windows, doors, and baseboards. If the smoke suddenly dances or blows sideways, you have found an invisible hole that needs attention.
Check your electrical outlets on outer walls as well. You would be shocked at how much outside air pushes straight through those tiny plastic plates. Foam gaskets designed for outlets cost almost nothing but provide immediate relief from wall drafts.
Real-Life Math: How Efficiency Shrinks System Size
Let us look at a practical example of why this matters so much. Meet David. David lives in a moderately sized suburban house and uses about 1,200 kWh of electricity every month.
To completely offset his usage, the solar company quoted him a 10kW system costing roughly $25,000. That is a massive chunk of change.
Instead of signing the contract, David paused. He spent $2,000 on deep attic insulation, extensive weatherstripping, and a new smart thermostat. Over the next three months, his average power usage dropped down to just 800 kWh per month.
When he called the installers back, they recalculated his needs. Because his home was now highly optimized, he only needed a 7kW system. The new quote was $17,500. By spending $2,000 on basic home improvements, David saved $7,500 on his panel installation and got a much more comfortable house in the process.
Sealing the Gaps: Upgrading Your Thermal Envelope
Your thermal envelope is the physical barrier between the conditioned air inside your living space and the wild weather outside. When this envelope is weak, your heating and cooling systems have to work overtime.
The biggest culprit is usually the attic. Heat rises. In the winter, the warmth you pay for floats right up through your ceiling if there is not enough fluffy stuff stopping it. Ensure your attic has adequate layers of fiberglass, cellulose, or spray foam.
Next, attack the doors and windows. These moving parts are notorious for degrading over time. Rubber seals crack, caulk shrinks, and door sweeps tear.
Understanding Weatherstripping vs. Caulking
People often confuse how to treat different types of leaks around their windows and doors. Applying the wrong material will just lead to peeling and more drafts.
If you feel a breeze where the window slides up and down, you need V-strip or foam weatherstripping. If you feel cold air coming from the wooden trim surrounding the window, you need to grab a caulking gun.
Watch this simple breakdown before you spend money on the wrong sealing materials
I made the mistake of trying to caulk a moving window track once. It made a sticky mess, ruined the paint, and the window would not close properly afterward. Always use flexible stripping for anything that moves!
Tackling Phantom Loads and Aging Appliances
Once your thermal envelope is tight, it is time to look at what is plugged into your walls. Your appliances are the engines that drive your electricity bill.
Older refrigerators, aging air conditioning compressors, and ancient water heaters are massive energy hogs. If your HVAC system is more than fifteen years old, it is likely running on borrowed time and wasting incredible amounts of electricity. Replacing an old unit with a high-efficiency heat pump before putting panels on your roof will dramatically change your daily usage calculations.
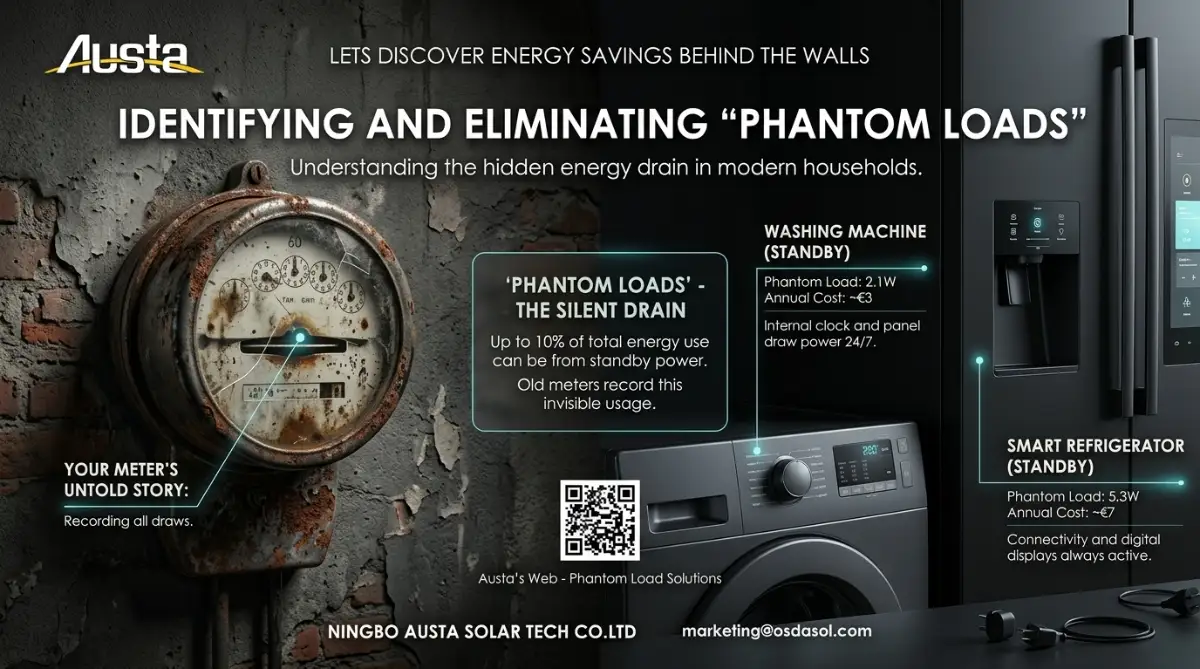
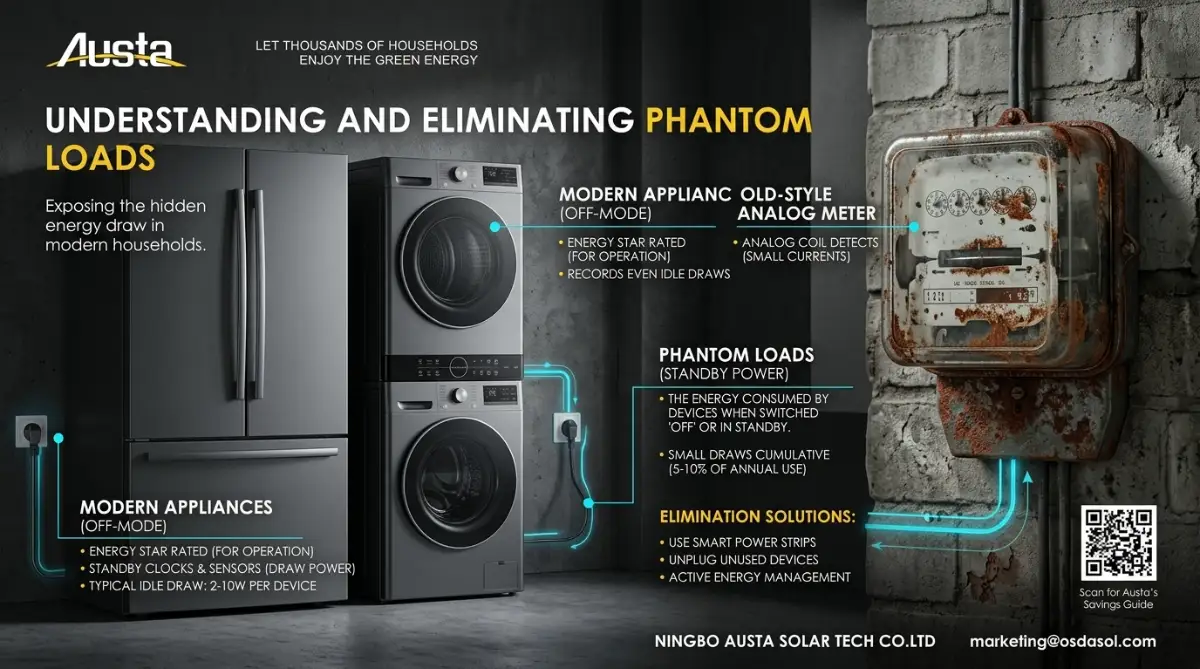
Then there is the issue of "phantom loads" or vampire power. This is the electricity consumed by electronics when they are turned off but still plugged in.
Think about your television, gaming consoles, microwave, and coffee maker. They sit there silently draining power just to keep a tiny digital clock running or to wait for a remote control signal.
The Honest Pros & Cons of Smart Thermostats
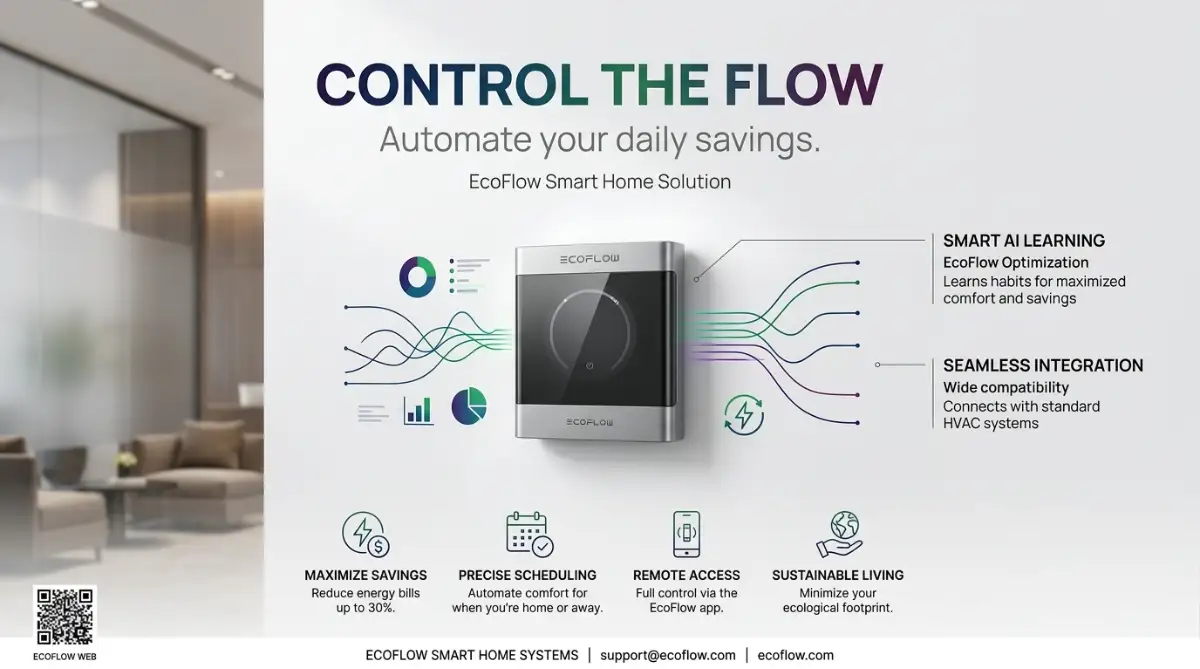
One of the easiest appliance upgrades you can make is swapping out your old dial thermostat for a smart model. They learn your habits and stop your HVAC from running when no one is home.
The Pros:
- Automatically adjusts temperatures based on your daily routine.
- Allows remote control directly from your smartphone.
- Provides detailed monthly reports on your HVAC energy usage.
- Rapid return on investment through lower monthly utility bills.
The Cons:
- Requires a basic understanding of smartphone apps to set up.
- Might require a "C-wire" installation depending on your current HVAC wiring.
- Higher upfront purchase cost compared to a traditional manual dial.
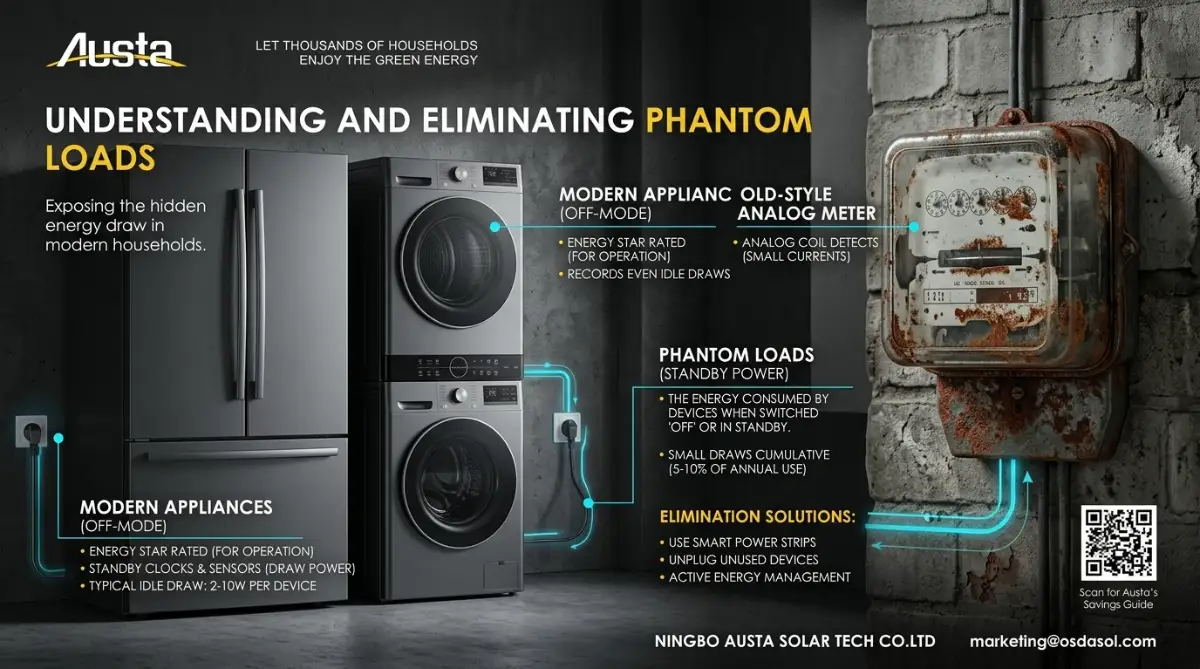
My Personal Pro Tip: I realized I was paying for phantom power on a guest room television and an old desktop computer that we almost never used. I bought a few simple smart power strips. Now, when I turn off the main device, the strip cuts power to everything else plugged into it. It took five minutes to set up and immediately shaved a noticeable percentage off my baseline power load.
Honing Your Daily Power Habits
Technology and upgrades are amazing, but your daily habits dictate a huge portion of your energy success. You have to train yourself and your family to treat electricity like a precious resource.
Start with lighting. If you still have incandescent bulbs anywhere in your house, throw them away today. LED bulbs use a fraction of the wattage, produce almost no excess heat, and last for years.
Next, look at your laundry routine. Heating water accounts for an enormous amount of household energy. Switching your washing machine to the cold water cycle gets your clothes just as clean but skips the heavy lifting of the water heater.
Also, try to run major appliances like dishwashers and dryers during off-peak hours. While this will not lower the overall volume of electricity you use, it helps balance the load. When you eventually get your renewable system connected to the grid, understanding your peak usage times becomes incredibly helpful for maximizing net metering benefits.
The Final Checklist Before Panel Installation
Before you sign on the dotted line with an installation company, walk through your house one last time. Have you checked your attic insulation depth? Are your doors closing tightly against their weatherstripping? Have you unplugged the electronics in rooms you rarely use?
By doing the hard work upfront, you are completely transforming your living space. You are creating a comfortable, stable environment that demands very little from the outside world.
When those shiny new panels finally go up on your roof, they will not be fighting a losing battle against a drafty house. They will be effortlessly powering a highly optimized machine. You will enjoy total peace of mind knowing that every ounce of sunlight you capture is staying exactly where it belongs—right inside your home.
Next-Level Hacks to Shrink Your Power Bill
Most people stop their efficiency journey right after sealing their front doors and swapping out a few lightbulbs. But if you want to truly maximize your savings, you have to look in the places you rarely visit. I am talking about your basement, crawlspaces, and the hidden ductwork snaking behind your drywall.
When central air pushes through your home, it travels through a series of metal or plastic tubes. According to national energy laboratories, almost 30% of that conditioned air escapes through loose joints before it ever reaches your living room. You are literally paying to air-condition the dark inside of your walls.
To fix this, you do not need to tear your house apart. You can access the exposed ductwork in your basement or attic and seal the connecting joints yourself. This one weekend project completely changes how hard your HVAC system has to work. When your air conditioner runs less, it directly impacts the baseline load you need to offset with renewable energy.
Pro Tip: Always use specialized mastic sealant or metal-backed foil tape on your ductwork joints. Never use standard cloth duct tape, because the adhesive dries out rapidly and falls off within a few short months.
Another massive energy hog is your water heating system. If you have an older tank, it sits there all day burning electricity just to keep a reserve of water hot while you are away at work. Wrapping that tank in a specialized insulating blanket traps the heat inside, reducing standby heat loss dramatically.
It is also smart to consider exactly how you manage your long-term maintenance. For example, once your system is up and running on the roof, you will eventually need to learn how to clean solar panels safely to keep their production numbers high. Efficiency is not a one-time event; it is an ongoing habit.
Separating Fact from Fiction
People often carry a lot of misconceptions about what actually saves power. Let us clear the air before you spend your hard-earned money.
Your Step-by-Step Execution Guide
If you are ready to stop bleeding cash to your utility company, you need a solid plan of attack. You cannot just guess where the problems are hiding. You have to approach this methodically so you do not waste a single dollar.
Here is exactly how you can take action this week:
Step 1: Gather Your Data
Before you do anything, you need to understand your current habits. Log into your utility provider's online portal and download your last twelve months of statements. You need to know your average monthly kilowatt-hour (kWh) usage.
Step 2: Schedule a Subsidized Audit
Do not pay full price for a home inspection. Contact your local power company directly. Many municipal utility companies offer deeply discounted or entirely free professional audits just to help reduce strain on the local grid.
Step 3: Hunt for Local Rebates
Before buying insulation or a new heat pump, check the Database of State Incentives for Renewables & Efficiency online. Many governments offer massive tax credits or instant cash rebates for upgrading your thermal envelope.
Step 4: Seal the Envelope
Take your audit report and start with the cheapest, highest-impact fixes. Caulk the baseboards, weatherstrip the doors, and spray foam around your plumbing pipes where they enter the walls.
Required Document & Preparation Checklist
Before you start applying for rebates or inviting contractors into your home, get this paperwork organized in one physical folder:
- A full 12 months of consecutive electricity bills (digital or printed).
- Proof of homeownership (deed or current mortgage statement).
- A basic floor plan sketch showing where your worst drafts are located.
- Tax identification numbers (needed for claiming government energy rebates).
- The age and model numbers of your major appliances (HVAC, water heater, fridge).
The Trap of Expensive "Quick Fixes" (The Pitfalls)
I have seen countless excited homeowners throw thousands of dollars down the drain because they did things in the wrong order. This usually happens when people rush the process. They want immediate results, so they skip the foundational work and buy shiny new toys instead.
If you ignore the basics of home physics, you will end up masking the real issues. For instance, buying a massive rooftop system without sealing your house is one of the most major solar panel installation mistakes you can possibly make. You are just treating the symptom, not the actual disease.
Here are the most Common Mistakes you must avoid at all costs:
- Skipping the structural inspection: Throwing heavy hardware up top before taking the time to prep your roof for solar panels often leads to devastating water damage and expensive removal fees later.
- Buying new windows first: Window salesmen are incredibly convincing. But spending ten grand on double-pane glass while your attic is completely bare will barely change your power bill.
- Ignoring the chimney damper: If you have a fireplace, an open damper is essentially a massive hole in your ceiling that sucks your heated air straight outside.
- Guessing your power needs: Never let a salesman guess your future consumption. You must calculate home solar panel requirements easily using your own optimized data.
To give you a better perspective on where to put your money, look at this breakdown.
Your Quick Action Checklist for Maximum Savings
To keep things simple, I want you to treat this like a weekend project. You do not need to finish everything in one day, but you do need to start checking these boxes.
Here is your Quick Action Checklist to gain control over your house:
- Walk the perimeter of your home and look for cracked caulk around exterior window frames.
- Check the rubber sweep at the bottom of your front and back doors; if you see daylight, replace it.
- Go into your attic and measure the insulation depth with a ruler (aim for at least 12 to 15 inches).
- Unplug the extra refrigerator or deep freezer in your garage if it is mostly empty.
- Turn down the temperature on your main water heater to exactly 120 degrees Fahrenheit.
- Swap out the HVAC air filter, as a clogged filter makes your blower motor consume double the power.
When you cross these items off your list, you drastically lower your overall energy demands. This means that when you finally look into how net metering works, you will have much more excess power to send back to the grid for a tidy profit.
Understanding the Financial Shift
Let us take a quick look at how everyday habits shift your overall system needs. The table below illustrates the difference between an average home and an optimized home.
Time to Make Your Home Work for You
Getting your home completely sealed and optimized is one of the most rewarding feelings in the world. I remember the exact day I looked at my power app and saw my daily usage drop by forty percent. I had not even ordered my roof panels yet! I simply took control of my own living space.
By taking these smart, calculated steps, you are protecting your hard-earned money. You are making your house quieter, less drafty, and infinitely more comfortable for your family. Best of all, you are paving the way for a much smaller, highly efficient renewable energy system that will actually perform the way you expect it to.
You hold the power to stop the waste today. Start small, plug the visible leaks, and watch your monthly expenses shrink month after month.
Which energy-wasting appliance are you planning to upgrade first? Let me know in the comments below!
Smart Questions Homeowners Ask Before Upgrading
Does replacing old windows really save a lot of energy?
While new windows look beautiful and stop drafts, they are extremely expensive. You will usually save much more money by simply sealing around your existing windows and adding insulation to your attic instead.
Can I do my own home energy audit?
Yes, you can easily perform a basic DIY audit using a simple incense stick to find drafts around doors and baseboards. However, hiring a professional gets you advanced thermal imaging and blower door testing for hidden issues.
How much insulation do I actually need in my attic?
Most energy experts recommend having between 12 and 15 inches of high-quality insulation on your attic floor. If you can clearly see the wooden floor joists when you look around up there, you definitely do not have enough.
Why is my electric bill so high if I barely use the AC?
Your home is likely suffering from hidden phantom power loads from plugged-in electronics, or your hot water heater is constantly cycling. A leaky thermal envelope will also let outside heat in, forcing your fridge and other appliances to work harder.
What is a phantom power load?
It is the electricity that your televisions, microwaves, and phone chargers consume while they are turned off but still plugged into the wall socket. Using a smart power strip easily stops this invisible waste.
Should I install a smart thermostat before going solar?
Absolutely. A smart thermostat learns your family's schedule and stops heating or cooling an empty house, which permanently lowers your overall power requirements.
Do I need to replace my roof before adding panels?
If your asphalt shingles are more than ten years old, you should strongly consider replacing them first. Taking panels down to fix a leaky roof later is a massive and unnecessary expense.
Does caulking really make a big difference?
Yes, sealing tiny cracks around your home prevents massive amounts of conditioned air from escaping over time. It is one of the cheapest and highest-returning investments you can make for your home.
Are LED light bulbs actually worth the upgrade?
Switching to LEDs is incredibly beneficial because they use up to 90% less energy than old incandescent bulbs. They also generate far less heat, which helps keep your house cooler in the summer.
Will energy efficiency make my solar system cheaper?
Yes, because lowering your daily power usage means you need to buy fewer panels to cover your needs. Shrinking your system size saves you thousands of dollars in hardware and installation labor.
Trusted Solar Energy & Planning Resources
Before investing in a home solar system, we highly recommend verifying federal incentives, local policies, and solar performance data through these trusted official sources:
- U.S. Department of Energy (DOE) - Homeowner’s Guide to Going Solar (For official basics on residential solar setups)
- National Renewable Energy Laboratory (NREL) - PVWatts Calculator (The industry standard tool to estimate the energy production of your roof)
- DSIRE - Database of State Incentives for Renewables & Efficiency (To find specific solar tax credits and rebates available in your specific state)