
Reading Time: 12 Minutes
Difficulty Level: Beginner to Intermediate
Reviewed By: FinanceInfoIn Editorial Team
The Hidden Danger of Post-Storm Solar Damage
The wind was howling so loudly against my bedroom window that it rattled the glass. Heavy branches were snapping outside, and I could hear the aggressive pounding of hail hitting the roof. My heart sank right into my stomach.
I was not thinking about my car or the patio furniture. All I could think about was the expensive solar panel array sitting totally exposed up on my roof.
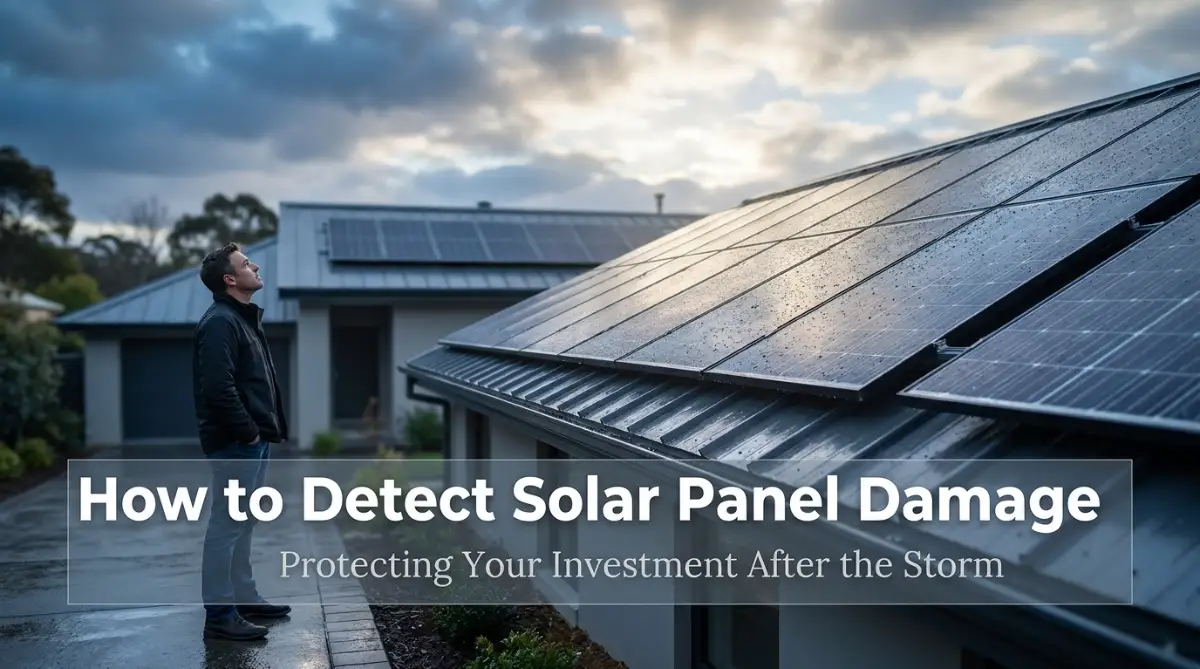
When the morning finally came, the sky was a beautiful, calm blue. I walked out into my front yard with my coffee mug, squinting up at the roof. From where I stood, everything looked perfectly fine.
There was no shattered glass raining down into the gutters. The panels were still firmly attached to the mounting brackets. I let out a massive sigh of relief and went on with my day.
But I was completely wrong. A few weeks later, my electric bill arrived, and it was double the usual amount. My panels had suffered severe invisible damage, and my energy production had quietly tanked.
You invest thousands of dollars into clean energy to save money and find peace of mind. But extreme weather can turn that dream into an incredibly stressful guessing game.
Not knowing if your system is silently failing is a terrible feeling. You worry about hidden roof leaks, dangerous electrical faults, and missing the tight window to file an insurance claim.
You are not alone in this frustration. Today, we are going to walk through exactly how to figure out if your system took a hit, without putting yourself in danger.
Quick Summary
Severe storms can cause both visible and invisible damage to your home solar system. Finding this damage quickly requires a mix of physical inspections and digital monitoring. You need to check for shattered glass, track sudden drops in energy output, and look for water pooling in the electrical boxes. Taking fast action protects your financial investment and keeps your home safe.
Key Takeaways
- Always do your initial physical inspection from the ground using binoculars to stay safe.
- A sudden, unexplained drop in your monitoring app’s daily output is the biggest red flag for hidden damage.
- Not all scratches affect performance; it is important to tell the difference between cosmetic marks and deep micro-cracks.
- Never try to reset a sparking or water-damaged inverter by yourself.
- Taking timestamped photos immediately after a storm makes insurance claims much smoother.
Step 1: Safe Ground-Level Visual Inspection (Using Binoculars)
The very first thing you want to do is grab a pair of binoculars. You should never climb onto a wet, slippery roof immediately after a storm. Your personal safety is always the top priority here.
Stand across the street from your house so you can get a wide, clear angle of your roof. Slowly scan the surface of every single solar panel. You are looking for large, obvious signs of impact.
Look for deep spider-web cracks that resemble a shattered car windshield. Large hail or flying tree branches usually leave very clear, localized impact points.
Also, pay close attention to the metal racking and mounting hardware. High winds can actually lift the panels and loosen the bolts holding them down. If a panel looks slightly tilted or out of alignment with the others, the wind definitely got underneath it.
Confusing Alternatives: Scratches vs. Structural Cracks
People often panic over small marks on their panels. It is very easy to confuse harmless surface marks with serious internal damage.
Take notes on anything that looks out of place. If you see tree branches resting directly on top of the panels, do not try to pull them down yourself. You could easily scratch the tempered glass or touch a live wire.
Step 2: Tracking Power Drops on Your Solar Monitoring App
Sometimes, the tempered glass holds up perfectly fine on the outside. But the sensitive silicon cells underneath take a serious beating from the vibration. This is called micro-cracking, and you cannot see it from the yard.
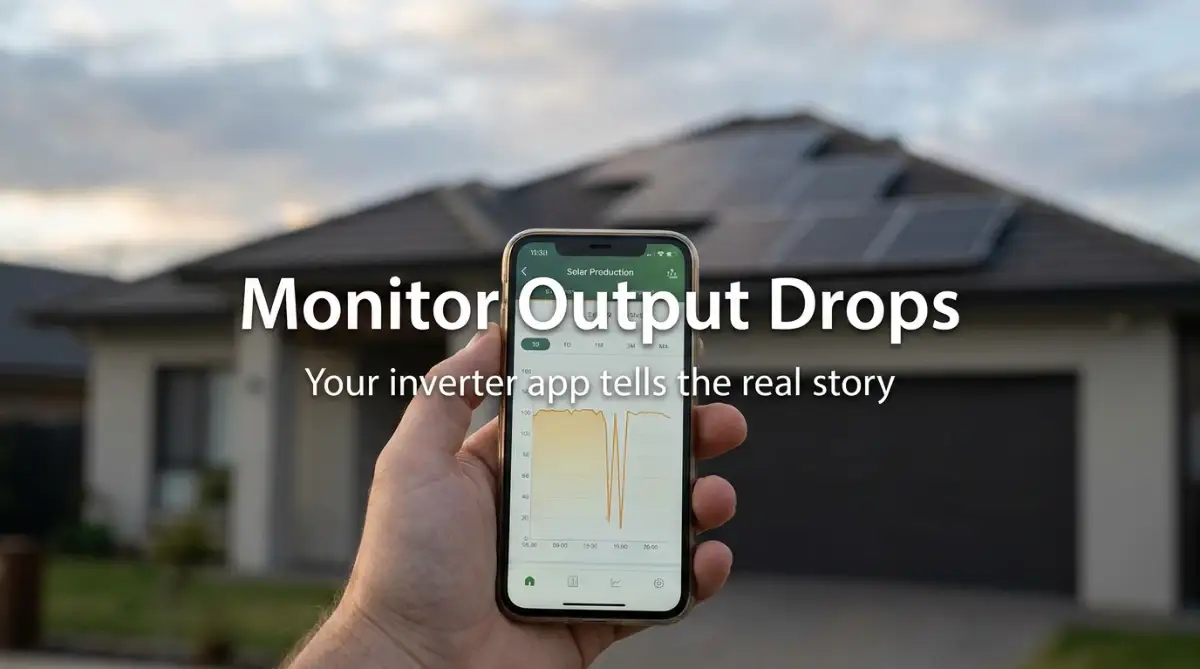
This is where your solar monitoring app becomes your best friend. Every modern solar setup comes with an app that tracks daily, weekly, and monthly energy production.
Open your app and compare yesterday’s energy output to the output from a clear, sunny day last week. You have to compare days with similar weather to get an accurate reading.
If it is a bright sunny day but your system is generating 20% less power than usual, you have a problem. The storm likely damaged the internal wiring or cracked the hidden cells.
⚠️ Critical Electrical Safety Warning:
Even if a solar panel is shattered and disconnected from the electrical grid, it continues to generate lethal high-voltage Direct Current (DC) electricity as long as daylight is present. Never touch exposed wiring or cracked glass panels with your bare hands. Always treat storm-damaged modules as live electrical hazards.
The Cost of Ignoring the Data (Real-Life Math)
Let’s look at a very real scenario to understand why this matters. Meet David, a homeowner with a standard 8kW solar system. His system normally produces about $150 worth of electricity every month.
After a massive hailstorm, David did not check his app. His system suffered internal micro-cracks, causing a 30% drop in energy production. He lost about $45 worth of solar power every single month.
Over the course of an entire six-month period, David quietly lost $270. Worse, because he waited so long, his insurance company argued the damage was due to normal wear and tear. If David had checked his app on day one, a single $500 insurance deductible would have replaced his panels immediately.
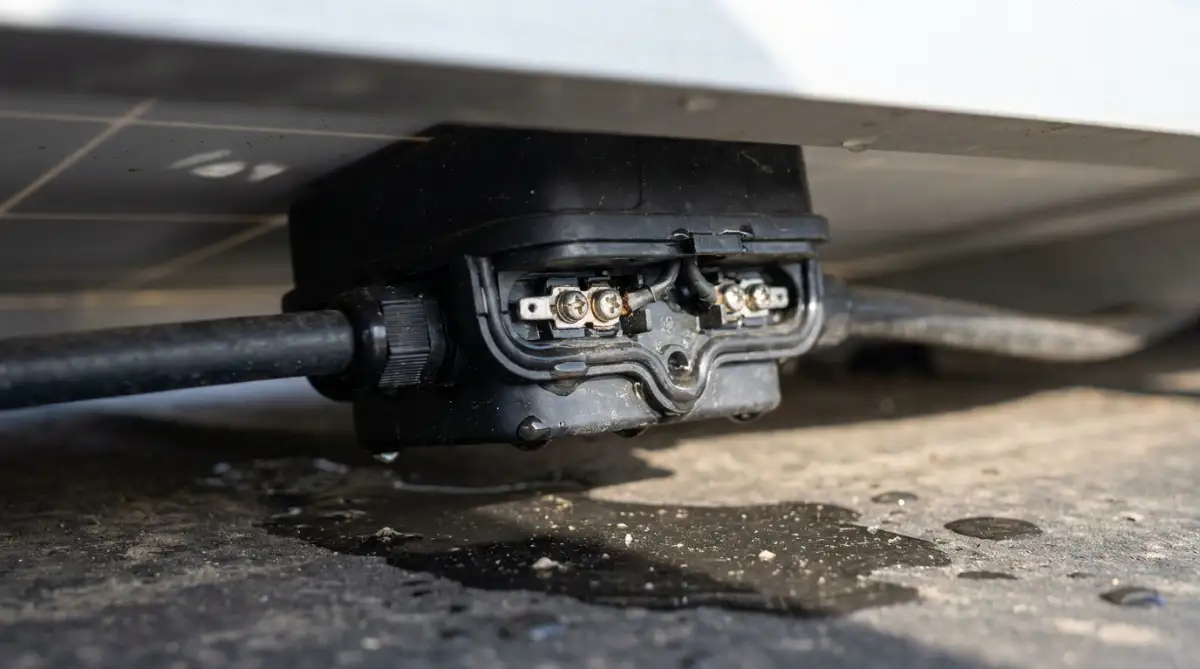
Expert Tip: Pay close attention to individual panel performance if you have micro-inverters. If only one panel is showing zero output while the rest are fine, the storm likely damaged that specific panel's junction box.
Step 3: Inspecting Attic Moisture and Inverter Error Codes
Wind and water are just as destructive as heavy hail. High winds push and pull against the wide surface area of your panels. This constant pulling can compromise the watertight seals on your roof.
Look up at your roof from the attic if you can safely access it. You are checking for any fresh water stains or dripping water directly under where the panels are mounted. A ripped mounting bracket will let rainwater leak straight into your attic insulation.
Water also plays terrible games with your electrical components. Your system has a heavy inverter, usually mounted on the side of your house. Go outside and look at the digital display screen on this inverter.
Are there any blinking red lights or specific error codes flashing on the screen? Inverters are highly sensitive to moisture and grid surges. If lightning struck nearby, it could have tripped the internal breakers.
I actually made a big mistake with this a few years ago. My inverter showed a ground fault error after three days of straight rain. I tried to just turn it off and on again, hoping it would clear. The system stayed off, and a technician later told me water had completely flooded the junction box. I should have called them the second I saw the red light.
Watch This Quick Troubleshooting Guide
If you are confused about what the lights on your inverter mean, do not guess. Here is a fantastic visual breakdown of exactly how to read common error codes safely.
Step 4: When to Hire a Certified Solar Technician (Thermal Scans)
You have checked the yard, you have checked the app, and you have checked the attic. If you found anything suspicious, it is time to call your solar installation company.
Do not hire a random local roofer to check your solar panels. Regular roofers do not understand high-voltage DC electricity. You need a certified solar technician.
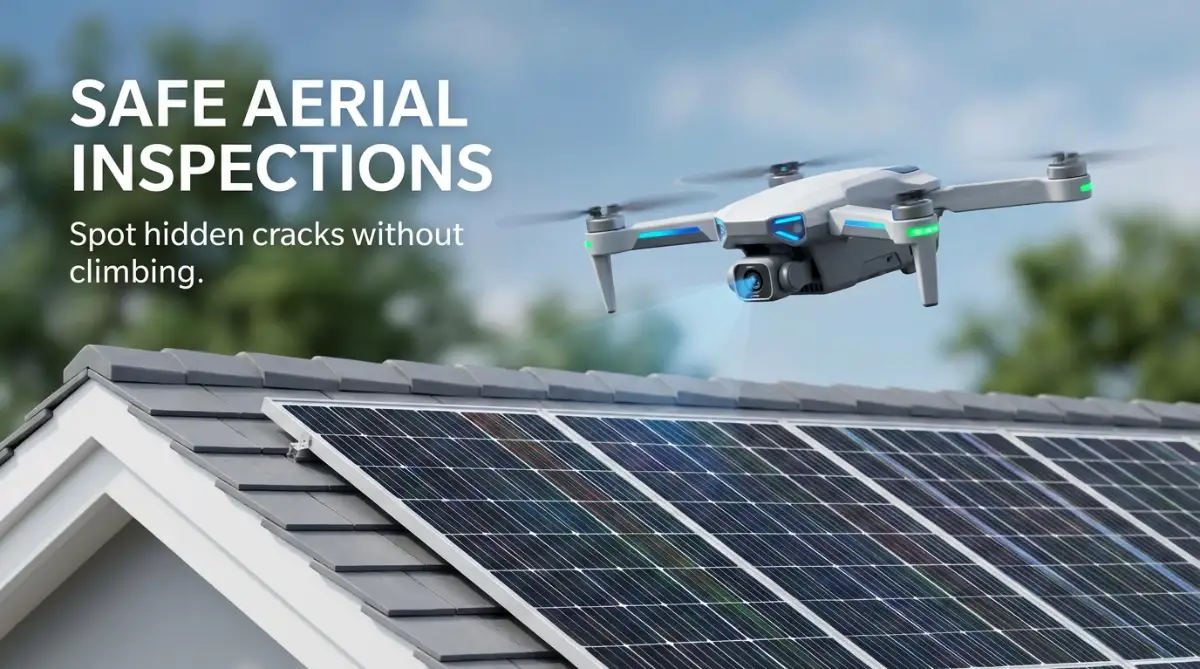
Many great companies now use advanced drones for their inspections. The drone flies over your house and uses thermal imaging cameras. These cameras can see hot spots on the panels, which instantly proves where the internal cells are broken.
Pros and Cons: DIY Inspection vs. Hiring a Professional
- The Pros of Hiring a Pro:
- 100% safe; you never have to step foot on a slippery ladder.
- They use thermal cameras to find hidden electrical faults you cannot see.
- They provide official damage reports that insurance companies easily accept.
- The Cons of Hiring a Pro:
- It can take several weeks to get an appointment after a major regional storm.
- There is usually an upfront inspection fee if the damage is not covered under warranty.
- Some companies only inspect systems they originally installed.
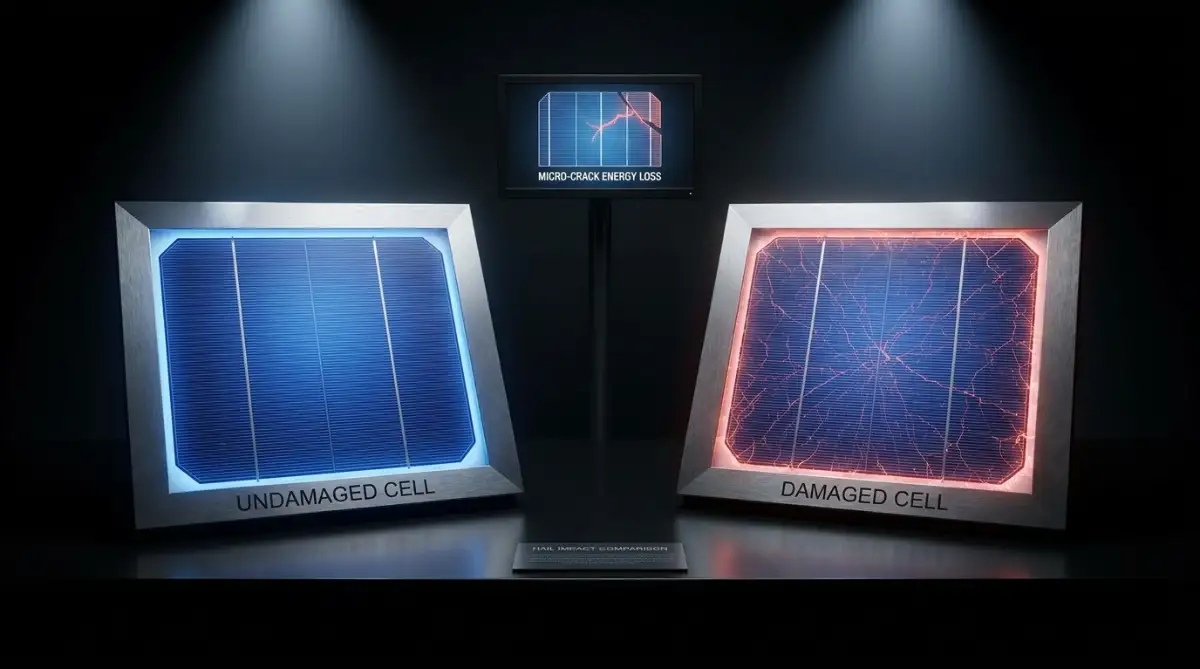
Here is a quick look at what normal and abnormal data looks like on your end.
Managing the Insurance and Warranty Maze
Now comes the part everyone hates: dealing with the paperwork. As soon as the storm passes, take wide and close-up photos of your entire property. You want timestamped proof of the storm's aftermath in your yard.
Check your original solar installation contract first. Some premium installers offer weather-related performance guarantees. If the storm broke their hardware, they might fix it for free.
However, "acts of God" like massive hail or hurricanes usually fall under your homeowners insurance. Call your insurance agent immediately and ask if your specific policy covers external solar arrays.
Do not let the insurance adjuster inspect the roof by themselves. You should politely demand that your solar technician be present during the insurance adjuster's visit.
Adjusters are looking for general roof damage. Your solar tech will point out the micro-cracks and fried inverters that the adjuster might completely miss. Having them on the roof together ensures you get a fair payout for the true cost of the repairs.
Protecting your solar investment is all about staying proactive. The next time the wind starts howling, you will not have to panic. You now have a clear, easy-to-follow plan to check your system, read the data, and get back to producing clean, cheap energy.
Advanced Strategies for Long-Term System Protection
Spotting obvious broken glass is the easy part of managing your home energy system. The real challenge is keeping your equipment running at peak performance year after year.
Once the immediate threat of a storm has passed, you need a long-term plan. Relying only on a visual inspection will leave you totally blind to electrical inefficiencies.
The secret to maximizing your energy production lies in remote diagnostics. Most people never look at their mobile app unless their electricity bill suddenly spikes.
Instead, you should set up automated alerts within your inverter’s software. You can program the system to send an email straight to your phone if power drops below a certain threshold. This takes the guessing game entirely out of the equation.
Pro Tip: Do not just look at the glass surface during your inspections. Pay close attention to the heavy metal racking underneath. High winds can loosen the mounting bolts, which slowly shifts the panels and puts dangerous pressure on the waterproof roof seals.
If you are worried about the physical stability of your hardware, taking the time for securing your roof against leaks is a smart move. An unstable rack will eventually cause water to pool directly above your living room.
Understanding the difference between your monitoring tools can save you hours of frustration. Here is a quick breakdown of how to track your system's health.
To fully understand how extreme weather impacts photovoltaic cells, you can review the extensive hail testing data published by the National Renewable Energy Laboratory. They provide excellent scientific testing on glass durability.
The Most Expensive Traps Homeowners Fall Into
People do very strange things when they panic about expensive home repairs. Dealing with high-voltage equipment on a wet roof is a recipe for disaster.
I have seen countless people make emotional decisions right after a storm that completely void their equipment guarantees. You must stay calm and follow the rules.
Common Mistakes to Avoid Immediately
- Assuming rain washes away the problem: Heavy rain leaves behind a sticky layer of dirt and sap that blocks sunlight. Ignoring this buildup lowers your daily output.
- Resetting a tripped breaker blindly: If your solar breaker flips during a storm, it did so for a reason. Forcing it back on without checking for water in the junction box can start an electrical fire.
- Waiting for the utility bill: Your utility company will not warn you if your system goes down. They will just quietly start charging you standard grid rates again.
- Hiring a standard roofer: Regular roofing contractors are not certified to handle live direct current (DC) wiring. They can accidentally break the complex grounding wires.
If you make poor installation habits that waste money, a bad storm will expose every single weak point.
There is a lot of bad advice floating around the internet about extreme weather. Let us clear up the confusion right now.
Your Exact Blueprint for Filing a Successful Claim
Let us pretend the worst has happened. You checked your app, and your energy production is down by forty percent. You walked outside, and you clearly see a shattered panel.
You need to take immediate action to protect your home and your wallet. If you wait too long, the insurance company will blame the issue on lack of maintenance.
Here is exactly how you handle the recovery process without losing your mind.
Step 1: Document the Scene Safely
Grab your phone and take clear pictures from the ground. Photograph the damaged panels, any broken branches nearby, and the exact time on your inverter screen.
Step 2: Shut Down the Damaged Equipment
If you see shattered glass or exposed wires, you must turn off the AC disconnect switch immediately. Leaving a broken system running introduces moisture into the live electrical lines.
Step 3: Export Your Production Data
Log into your desktop monitoring portal. Download the energy production graph from the day before the storm and the day after. This proves exactly when the failure happened.
Step 4: Call Your Certified Installer First
Do not call your insurance company yet. Call the company that installed the system and schedule a diagnostic visit. You need a certified technician to write an official damage report.
Step 5: File the Homeowners Claim
Once you have the diagnostic report in your hand, call your insurance agent. Present the photos, the energy graphs, and the technician’s report all at once.
Understanding who actually pays for the repairs can be confusing. Here is a clear look at how the different guarantees work.
Quick Action Checklist for Filing Your Claim
Before you pick up the phone to call an adjuster, make sure you have these exact items sitting on your kitchen table:
- A physical copy of your original installation contract and warranty terms.
- Digital screenshots of your app showing the sudden drop in energy production.
- Clear, timestamped photos of the property damage taken from the ground.
- The exact date and time the extreme weather event passed through your neighborhood.
- A copy of your current homeowners insurance declarations page.
Getting Your Home Back on Track
Dealing with extreme weather is stressful, but it does not have to ruin your financial plans. You have invested in a smart home, and now you have the smart stra