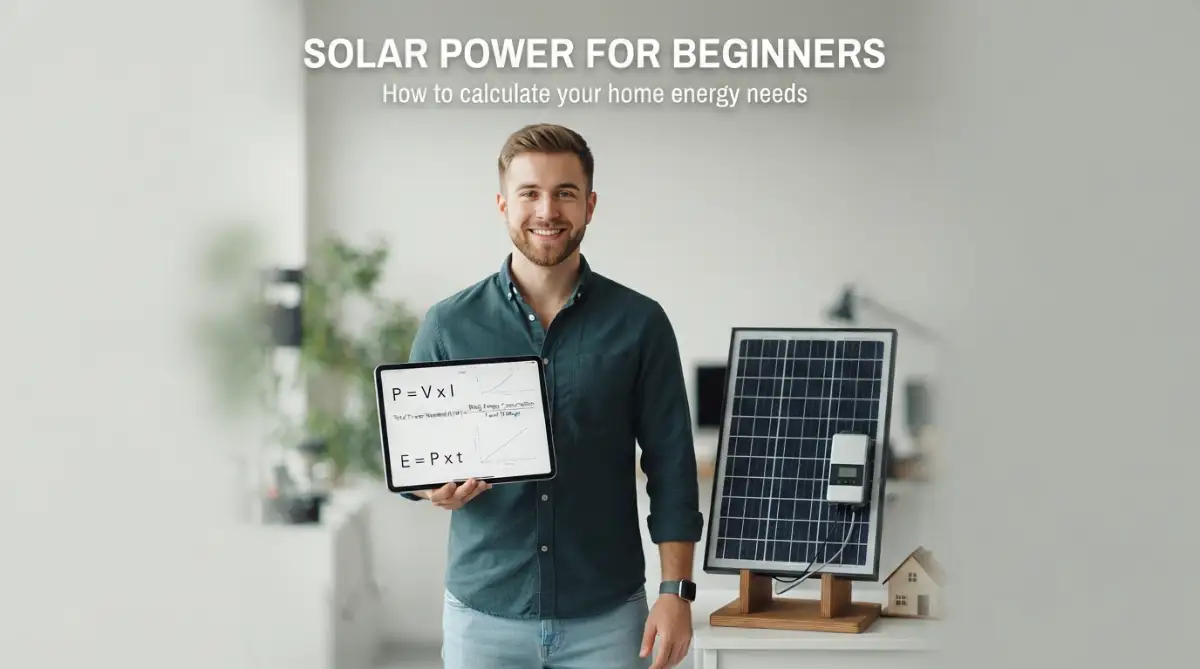
The Hidden Trap of Home Solar Power Planning
Imagine opening your electricity bill every month only to feel a sudden knot in your stomach. The numbers keep climbing, and you feel completely powerless against the rising utility rates. You want to break free from this cycle and switch to clean, reliable solar energy.
Yet, the moment you look for answers, you are met with complex jargon and confusing math. Many homeowners feel completely lost trying to figure out how many panels they actually need. This confusion often leads to costly mistakes that leave people frustrated and empty-handed.
Why Conflicting Information Leads to Solar Disasters
- The Pushy Salesperson Trap: Many people rely on sales representatives who want to sell the largest, most expensive system possible. This leaves families with massive bills for energy they do not even use.
- The Internet Guesswork Problem: Online solar calculators often use generic averages that do not match your actual household habits. This results in undersized setups that cannot run simple appliances like your refrigerator.
- The Complexity Barrier: Confusing terms like kilowatts, alternating current, and efficiency ratings make simple math look like advanced science. This causes many beginners to give up before they even start.
The Mental Toll of Energy Uncertainty
- The Fear of Making Costly Mistakes: Spending thousands of hard-earned dollars on the wrong equipment causes immense stress and anxiety. You worry your investment will go to waste.
- The Loss of Independence: Relying on an unstable power grid makes you feel vulnerable to blackouts and sudden rate hikes. You lose the peace of mind that comes with self-reliance.
- The Guilt of Inaction: Knowing you want to protect the environment but feeling too paralyzed by the math to make a move is highly discouraging. It damages your confidence as a homeowner.
Let us look at a real-life example of a homeowner named John. He wanted to save money, so he bought a cheap solar panel kit online without doing the math. He assumed a few small panels would easily power his entire kitchen.
Unfortunately, his system could not even keep his television running for more than an hour. He felt embarrassed, stressed, and believed that solar energy was simply a scam. John's story is incredibly common, but it is entirely avoidable if you follow a few basic steps.
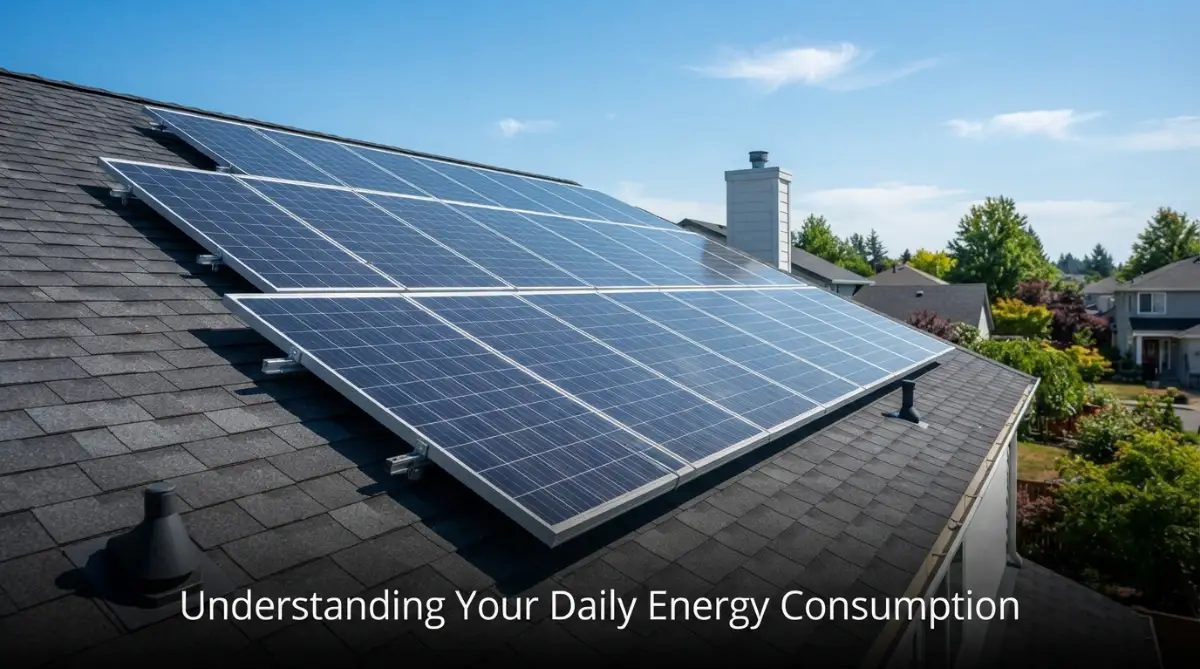
The Math of Sunshine: A Beginner-Friendly Solar Roadmap
You do not need a degree in engineering to design a working solar setup. By breaking the process down into simple phases, you can find the perfect size for your home. Let us go through the calculations step by step so you can plan with complete confidence.
Phase 1: Uncover Your Actual Daily Power Consumption
Before you can buy any solar panels, you must know how much electricity your home consumes. This is the foundation of your entire setup. If you guess this number, your solar journey will run into trouble very quickly.
How to Read Your Power Bill Like a Pro
Grab your electricity bills from the past twelve months. Look for a number listed as kilowatt-hours, which is written as "kWh" on your statement. This number shows the exact amount of electrical energy your home used during that billing cycle.
You want to look at a full year of bills because your energy use changes with the seasons. For example, you likely use far more power during hot summer months for air conditioning than during mild spring days. Add up the total kWh for all twelve months to get your annual usage.
Once you have your annual total, divide that number by 365 days. This simple math gives you your average daily energy consumption in kWh. If your annual usage is 10,950 kWh, your daily average is exactly 30 kWh.
The Grocery Basket Analogy for Household Watts
Think of your daily energy use like filling a grocery basket. Every appliance you turn on adds items to your basket, consuming a certain amount of power over time.
Formula: Average Annual kWh divided by 365 Days equals Daily Energy Consumption in kWh.
Example Calculation: 10,950 kWh divided by 365 equals 30 kWh per day.
Some appliances, like a toaster, use a massive amount of power but only run for a few minutes. Others, like your refrigerator, use a moderate amount of power but run all day and night. Knowing your total daily basket size is the key to choosing the right solar array.
Identifying Your Peak Energy Hours
It is also smart to observe when you use the most electricity during the day. Do you run laundry machines in the morning, or do you turn on multiple TVs and AC units in the evening?
Understanding these patterns helps you decide if you need a battery storage system. Solar panels only generate electricity when the sun is shining, so evening energy must come from batteries or the grid.
Phase 2: Calculate Your Regional Peak Sun Hours
Many beginners make the mistake of thinking that any hour of daylight is a good hour for solar panels. However, solar generation depends entirely on a concept called peak sun hours.
Why Daylight is Not the Same as Peak Sun Hours
A peak sun hour is not just an hour of daylight. It is defined as an hour where the sun's intensity reaches an average of 1,000 watts of energy per square meter.
In the early morning or late afternoon, the sun is low in the sky, and its rays are weak. Your panels will still generate some power during these times, but at a much lower rate. Peak sun hours usually occur during the middle of the day when the sun is directly overhead.
Your geographic location determines how many peak sun hours you receive each day. Someone living in sunny Arizona might get six peak sun hours daily, while someone in cloudy Seattle might only get three.
The Sunlight Bucket Analogy
Think of peak sun hours like catching water in a bucket during a rainstorm. A light drizzle takes all day to fill your bucket, but a heavy downpour fills it in minutes.
Formula: Daily Energy Need of 30 kWh divided by 5 Peak Sun Hours equals a Target Solar Array Size of 6 kW.
Peak sun hours represent those intense hours of heavy solar "downpour" that quickly fill your energy bucket. You can easily find your local peak sun hours by searching for online solar radiation maps or checking local weather databases.
How Seasonal Shifts Affect Your Solar Calculations
Remember that peak sun hours change throughout the year. Winter days are shorter, and the sun sits lower on the horizon, which reduces your daily peak sun hours.
To ensure your system works well all year, use the average winter peak sun hours for your calculations. This conservative approach prevents your system from underperforming when you need power the most during cold, dark months.
Phase 3: Account for Real-World Solar Power Losses
If you calculate your system size using theoretical numbers, you will end up with an undersized setup. Solar panels operate in the real world, where various environmental factors reduce their efficiency.
The Inevitable Energy Tax (System Inefficiencies)
No electrical system is perfect, and energy is always lost as it travels from your roof to your home appliances. These losses happen due to factors like wire resistance, inverter conversion, and dirty panels.
Your solar panels produce direct current (DC) electricity, but your home runs on alternating current (AC). The inverter that converts this power loses about ten to fifteen percent of the energy in the process.
Additionally, dust, pollen, and leaves on your panels block sunlight and reduce output by another five percent. High temperatures also make panels less efficient, as solar cells work best in cool, sunny conditions. So use solar its safe and cost saving.
Applying the Standard Solar Derating Factor
To protect your system from these real-world losses, experts use a standard rule of thumb. We multiply our calculations by an efficiency factor, also known as a derating factor, of 0.80.
Formula: Target Solar Array Size of 6 kW divided by 0.80 Efficiency Factor equals a Real-World Solar Array Size of 7.5 kW.
This simple adjustment adds a twenty percent safety buffer to your system. It ensures that even on warm, slightly dusty days, your solar array still meets your home's daily electricity needs.
Why a Safety Buffer Gives You Absolute Peace of Mind
Adding this safety buffer means you do not have to worry if you forget to clean your panels for a few weeks. It also accounts for normal equipment aging, as panels slowly lose a tiny amount of efficiency over decades of use.
This extra buffer is what keeps your lights on and your refrigerator running without unexpected power drops. It is the secret step that separates professional solar designs from amateur mistakes.
Phase 4: Determining Your Total Panel Count
Now that we have all of our numbers, we can finally calculate how many individual solar panels you need to buy. This is the exciting part where your project starts to take a physical shape.
Understanding Panel Wattage Ratings
When you look at solar panels, you will notice they all have a wattage rating, usually between 300 and 450 watts. This rating tells you how much power the panel can produce under perfect laboratory conditions.
For our example, let us assume we are using standard 400-watt solar panels. To make the math easy, we need to convert our total system target from kilowatts (kW) into watts (W).
Since one kilowatt equals 1,000 watts, our 7.5 kW system target is equal to exactly 7,500 watts. Now, we simply divide this total wattage by the wattage of a single panel.
The Simple Panel Division Formula
Let us run the numbers to see how many panels our example home requires. We divide our target wattage by our panel size.
Calculation: 7,500 Watts divided by 400 Watts Per Panel equals 18.75 Panels.
Since you cannot buy three-quarters of a solar panel, you must always round up to the next whole number. In this case, you would need exactly 19 solar panels to meet your daily energy needs.
Formula: Total System Wattage of 7,500W divided by Single Panel Wattage of 400W equals 19 Panels.
Rounding up gives you a tiny bit of extra power, which is always useful for unexpected stormy days. It ensures your system is robust enough to handle your household demands with ease.
Mapping Your Roof Space Requirements
Once you know the number of panels, you must check if they actually fit on your roof. A standard residential solar panel is roughly 17.5 square feet in size.
Multiply your 19 panels by 17.5 to find your total required roof space, which is about 333 square feet. You must ensure you have a clear, unshaded section of roof that is large enough to hold this array.
If your roof is too small or has too many chimneys and vents, you might need to use higher-wattage panels. Using 450-watt panels instead of 400-watt panels reduces the total number of panels you need, saving valuable roof space.
Now that you know how to calculate your basic panel needs, it is time to look at some advanced strategies. Designing a solar setup is more than just running numbers on paper. It requires understanding how your home operates during different times of the day.
For accurate planning, you can review the official Homeowner's Guide to Solar Energy provided by the United States government[1]. This resource offers excellent details on residential systems and installation safety[1][2]. It is an amazing starting point to help you make informed decisions before buying any equipment[1][3].
To find reliable regional sunlight statistics, solar engineers highly recommend using the National Solar Radiation Database to check local peak sun hours[4][5]. This tool gives you access to years of highly accurate solar radiation measurements[4][6]. Relying on verified data keeps you from under-sizing your solar array. Its green and environment friendly.
Step 4: Assessing Roof Structural Integrity and Shading Analysis
A common step that beginners overlook is the physical condition of their roof. Solar panels are heavy, and they will sit on your house for over twenty-five years[3]. You must ensure your roof can support this extra weight without sagging or leaking[7].
When planning your roof assessment, it is smart to look for leaks, rot, or sagging, which are similar to the major warning signs to spot in a home inspection. If your roof needs repairs, it is much cheaper to fix them before installing panels[7]. Removing and reinstalling panels later can cost you thousands of dollars.
You also need to perform a detailed shading analysis during different hours of the day[7]. A single tree branch casting a shadow on a single panel can drop the power output of your entire system. Try to map out where shadows fall during the peak sun hours of noon and early afternoon.
Step 5: Pairing Solar Production with Smart Load Shifting
Smart load shifting is the practice of running your high-energy appliances when your solar panels are producing the most power. Instead of running your dishwasher and laundry machine at night, schedule them to run during midday. This allows you to use your solar energy directly, reducing your reliance on expensive battery storage.
Imagine you are running a home office and using multiple computers, monitors, and air conditioners. By shifting these energy-heavy tasks to the middle of the day, you use clean solar power as it is being made. This simple habit keeps your battery systems smaller and saves you money on equipment costs.
You can easily automate this process using smart plugs and home assistant devices. Many modern appliances have built-in timers that let you delay their start times. By aligning your habits with the sun, you get the absolute highest value out of every watt produced.
A Quick Laugh for Homeowners
The Electric Bill Mystery
A homeowner was proudly showing his friend the new solar panels on his roof.
"I finally sat down, did the math, and installed this system," he said happily. "Now, my electricity bill is almost gone!"
His friend looked up at the cloudy sky and asked, "But what do you do when it rains or gets dark?"
The homeowner shrugged and smiled, "Oh, that is easy. I just do what I have always done when the house gets dark—I walk around and blame my kids for leaving the lights on!"
Maintaining Your Solar System to Protect Your Investment Long-Term
Maintaining your solar array is incredibly easy, but it must be done consistently to protect your investment. Dust, bird droppings, and pollen will slowly build up on the glass surfaces of your panels. A simple rinse with a garden hose once or twice a year is usually all it takes to keep them clean.
You should also monitor your solar inverter's status light regularly to ensure there are no system errors. The inverter is the hard-working brain of your system, and it is usually the first component that might need replacement[3]. Keeping a simple log of your daily power generation helps you spot any sudden drops in efficiency early.
Consider hiring a professional inspector every few years to check the wiring connections and mounting hardware[7]. Strong winds and heavy storms can slowly loosen brackets and compromise the safety of your roof array[7]. Regular checkups ensure your green energy investment remains safe and productive for decades[3].
Designing a Scalable System for Future Energy Expansion
Your energy needs today might not match your energy needs ten years from now. You might decide to buy an electric vehicle, install a heated swimming pool, or build an addition on your home. It is wise to design a system that can easily scale up to meet these future power demands.
Talk to your installer about using microinverters instead of a single string inverter. Microinverters are installed on each individual panel, making it incredibly easy to add more panels later. This modular design saves you from having to replace your entire inverter system when you expand your solar array.
Additionally, make sure your electrical breaker panel has enough physical space for additional breakers. Planning for this expansion early prevents expensive rewiring jobs down the road. It keeps your system flexible and ready for whatever new technology you bring into your home.
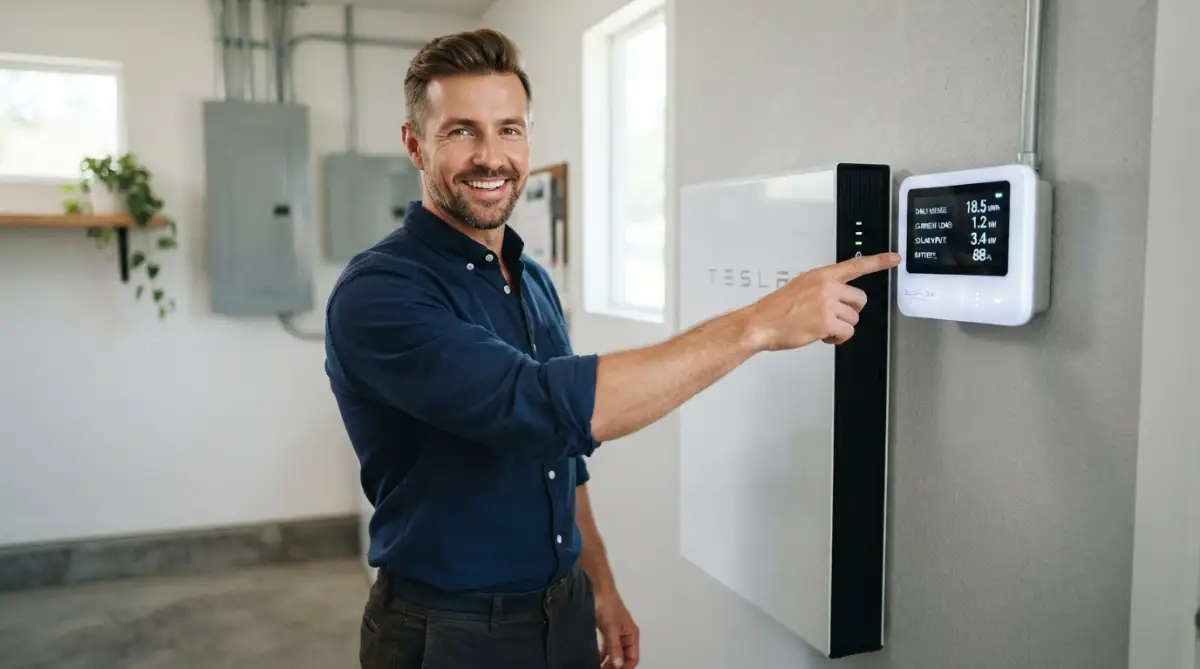
Solar Mistakes That Could Cost You Thousands
The path to clean energy is filled with small mistakes that can derail your entire project[7]. By learning from the errors of other homeowners, you can save time, money, and stress[7]. Let us look at the most common pitfalls you must avoid during your solar planning journey[7].
1. Ignoring Local Building Codes and Homeowner Association Rules
Many eager beginners order solar kits without checking their local building codes or homeowner association rules[7]. Some towns have strict guidelines about panel placement, fire safety setbacks, and system permitting[7]. Failing to secure the right permits can result in hefty fines and force you to take down your system[7].
2. Overlooking the Impact of Seasonal Shifts on Winter Production
Assuming your panels will produce the same amount of power in December as they do in July is a massive mistake. Winter brings shorter days, lower sun angles, and cloudy weather that drastically reduces solar output. If you do not plan for these seasonal drops, your home could face power shortages during the coldest months.
3. Underestimating Future Household Power Consumption
Sizing your solar system purely on your current energy bill can limit your options in the future. If you plan to expand your home or start a home-based business, your electricity needs will rise. If you are preparing for a larger property, you must balance current home improvements with plans like lowering your debt-to-income ratio before a mortgage application.
4. Overpaying for Unnecessary Off-Grid Battery Systems
Many homeowners assume that going solar means they must completely disconnect from the utility grid. However, buying massive battery banks is incredibly expensive and often unnecessary for most suburban families. For many homes, a simple grid-tied system without batteries is the most cost-effective way to lower monthly utility bills[3].
5. Falling for Unrealistic Online Solar Calculator Estimates
Using generic online calculators that only ask for your ZIP code and average bill size is highly risky. These tools use broad regional averages that ignore your roof's unique shading, pitch, and orientation[7]. Just as mismanaging initial expenses explains why bootstrapped startups collapse early, relying on generic solar estimates can ruin your personal home budget.
Taking Control of Your Home Energy Future
Calculating your home solar panel requirements is the first step toward a lifetime of energy independence[7]. By taking the time to read your utility bills, analyze your sunlight, and account for real-world inefficiencies, you put yourself in complete control of your energy bills[3][7]. You no longer have to feel helpless against the unpredictable decisions of utility companies.
Transitioning to solar power is a journey of patience, learning, and careful planning[7]. Do not let the mathematics or the technical terms intimidate you from making a positive change. Every small step you take today brings you closer to a cleaner, more sustainable household that benefits both your family and the planet[3][8].
Now is the perfect time to grab your electricity bills and start running these simple calculations[7]. Use the formulas we discussed, assess your roof, and start mapping out your clean energy roadmap[7]. You have the knowledge, the tools, and the plan to successfully transition to sustainable home solar power today[3].
5 Short Notes:
01. Measure Your Monthly Electricity Usage
Start by reviewing your recent electricity bills to find your average monthly energy consumption in kilowatt-hours (kWh). This provides the foundation for an accurate solar system estimate.
02. Calculate Your Home's Daily Energy Needs
Divide your monthly electricity usage by 30 to estimate daily power consumption. Matching your daily energy demand with local sunlight hours helps determine the right solar panel capacity.
03. Consider Roof Space and Sunlight Exposure
Evaluate your roof's available space, orientation, and shading. A roof with consistent sunlight can generate more electricity and improve the overall efficiency of your solar system.
04. Choose High-Efficiency Solar Panels
Compare panel efficiency, wattage, and warranty before making a decision. High-quality solar panels can produce more power while using less roof space.
05. Plan for Future Energy Consumption
If you expect to add electric vehicles, new appliances, or home expansions, include future electricity needs in your calculations to avoid upgrading your solar system later.
Safety and Installation Disclaimer:
The information provided in this article is for educational and planning purposes only. Solar energy setups involve high-voltage electricity and climbing on roofs, which carry risks of electric shock, falls, and fire. Always consult with a licensed professional electrician or certified solar installer before doing any hands-on wiring or mounting work on your property.
Sources
help